Part 1 : Introduction and App setup
Paypal has become a widely accepted and trusted platform when it comes to accepting payments in modern web apps and mobile apps. Paypal offers many solutions to the problem of accepting online payments. One of their product is the paypal rest sdk , which allows developers to easily start accepting payments on their web apps. In this tutorial we're going to explore paypal rest sdk and we'll be using node.js technology for our backend code. This tutorial is divided into 2 parts :
After completing this tutorial , learners should be able to ::
- Create developer account on paypal
- Create app on paypal developer account and note client_id and secret
- Understand the complete payment flow and process
- Write the backend code needed to work in coordination with paypal APIs
- Write complex nodejs apps which are capable of accepting payments via Paypal
After completing this tutorial , learners should be able to ::
- Paypal Account Create Here
- Node.js and npm
- ExpressJS
This tutorial is logically partitioned into 2 parts , in first part we learn about creating and setting up our app on paypal in order to accept payments and in the 2nd part , we'll write our webapp in node.js and integrate it using paypal-rest-sdk available to be installed using npm. We've a lot to get done , let's get started.
- Step 1.1 :
Go to this link developers.paypal.com and start creating your
account.
- Step 1.2 :
If you already have an account you can simply login and jump to step : 1.11 otherwise just click on
the signup button and create your account.
- Step 1.3 :
Select your account type
- Step 1.4 :
Enter your details and click continue.
- Step 1.5 :
You will have to add some more information before your account is created.
- Step 1.6 : Link your card with you account. You can skip this step and link later also.
- Step 1.7 :
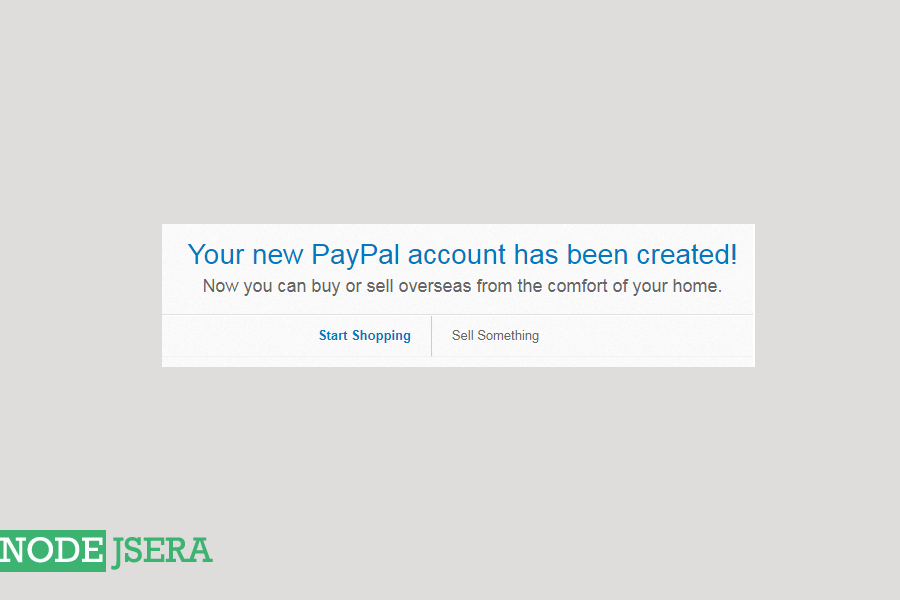
Congratulations. You successfully created your paypal account.
Note that you may have to verify your email before you can start creating your apps.
- Step 1.8 :
Now go to Paypal developers URL to start creating your app.
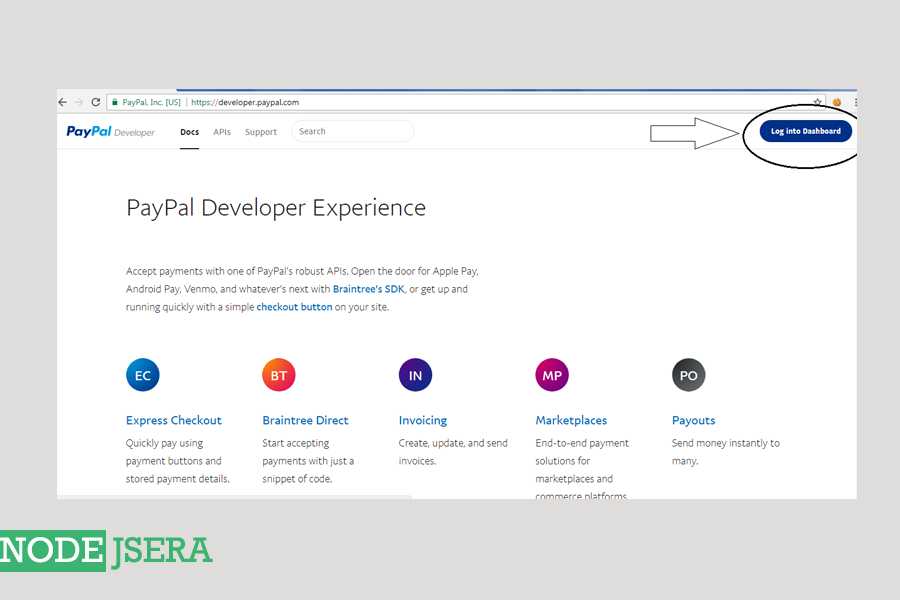
- Step 1.9 : Go to the dashboard.
- Step 1.10 : Your dashboard will look something like this. Search for create application(app) under the
REST API section.
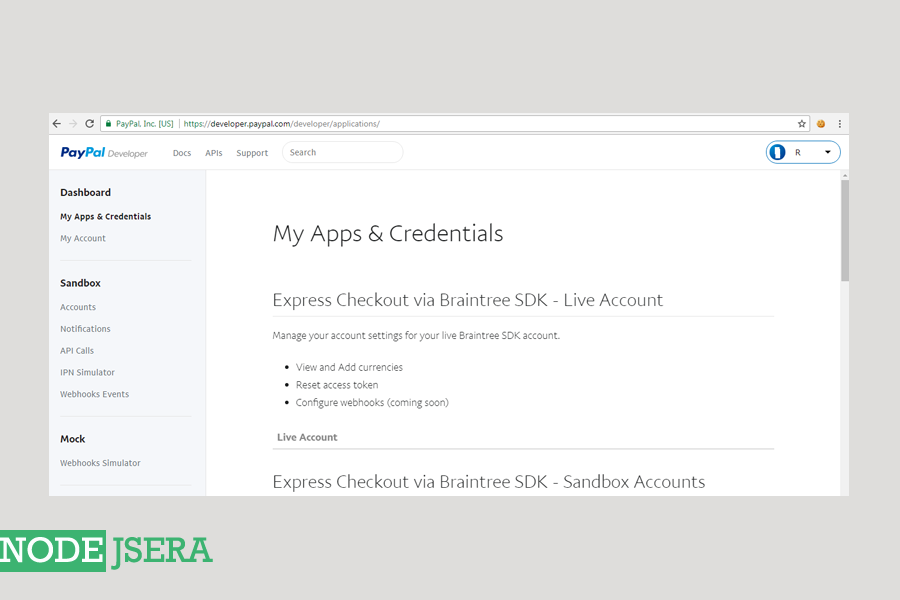
- Step 1.11 : Click on the create app button
- Step 1.12 : Give a name to your app and click on create App.
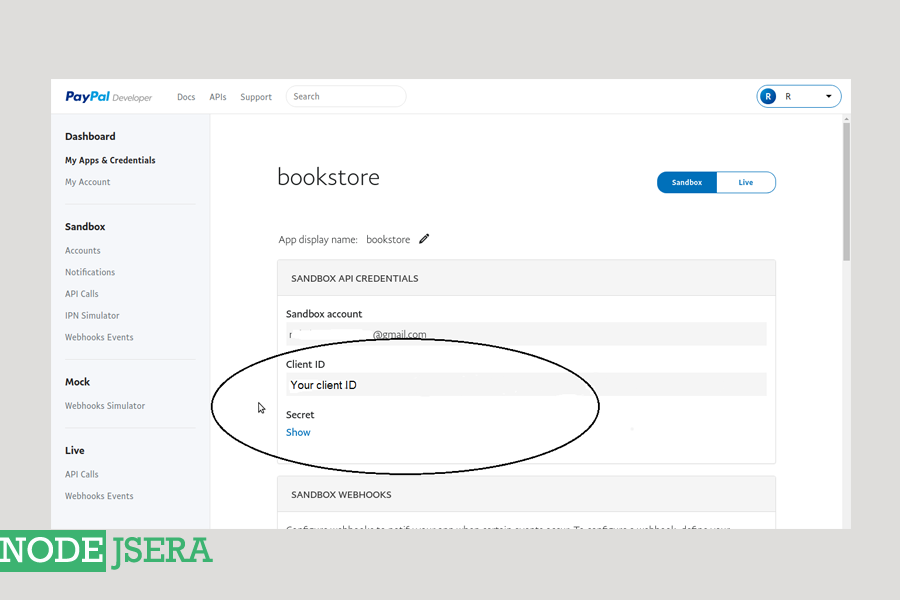
- Step 1.13 : Note down your client ID and Client Secret for future reference.
- Step 1.14 : Create a sandbox account for testing the integration. It will be useful when we test our
finished App. You can create it by clicking on the account button as shown below :
- Step 1.15 : You can either create a new account or else you can also use the accounts created by default.
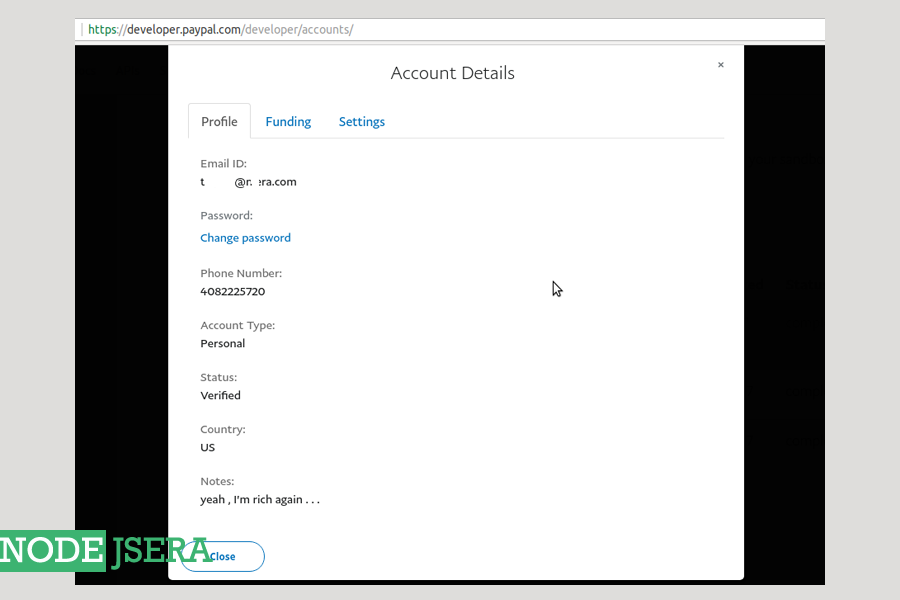
- Step 1.16 : You can simply click on your account to view details of the account as shown below. In the same way you
can check funding and settings also.
This diagram explains the payment flow.
- User clicks on the paynow button.
- After which the node.js App redirects the user to paypal.
- Paypal server will accept the payment and redirects the user back to the node.js app along with the payment status.
- Here is the sequece diagram :
In this part of tutorial we learned :
- How to create paypal account
- Adding a new app on paypal developer dashboard
- Noted down the credentials of our app